Defaults
System Administration | Customer Access Workgroups
Customer access workgroups are comprised of selected locations and departments that filter the level of access users have to customer records. The purpose of Customer Access Workgroups is to override the tiered order that you established on the Locations / Departments screen. There is no limit to the number of workgroups you can create.
In Lending Cloud, you can set up customer access workgroups in a list to control who in your organization can see specific customer records. For example, you can segregate specific borrowers into customer access workgroups and choose to allow or restrict access to those customer records. Users with access to a higher level location also have access to a lower level location.
If a staff member's name is on the Lender Staff list, you can save changes to the customer record in Lending Cloud. The Lender Staff list (General > Lender Staff) contains your bank’s employees that are connected to a specific customer record.
As shown in the following example, you can create a customer access workgroup that combines the highlighted locations and give them access to each location’s customer records.
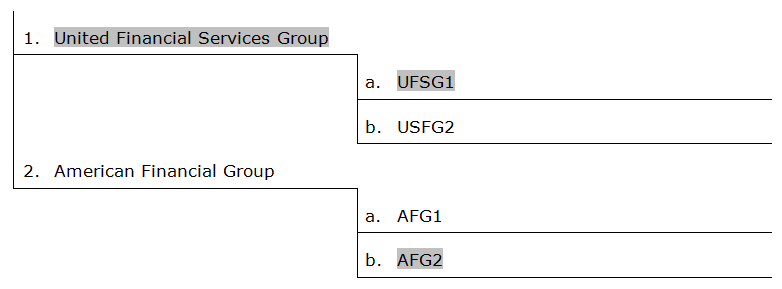
On the Customer Access Workgroups screen, you set up the customer records that your users can access that are based upon the physical location or department to which the customer record is assigned. The following example shows two lower level locations in one workgroup with access to locations within their group, but no access to locations that are at a higher level.
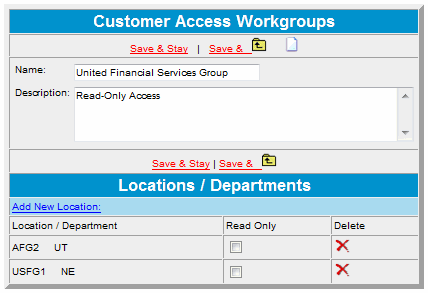
Add a Workgroup
Complete the following steps to add a workgroup to the Customer Access Workgroups screen:
On the Customer Access Workgroups screen, click Add New.
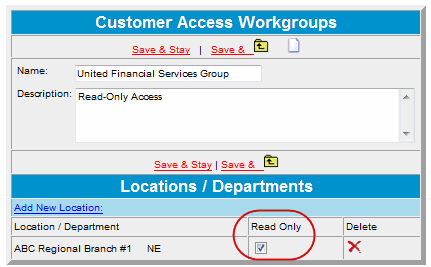
On the Customer Access Workgroups dialog box, type the name of the group in the Name field.
In the Description field, type a description of what members of that workgroup can access.
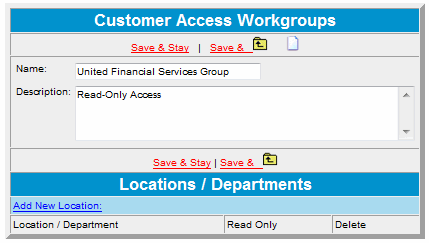
Click Save &
 .
.
Add Locations to a Workgroup
Complete the following steps to add a location to a workgroup:
On the Customer Access Workgroups screen, select the workgroup to which you want to add a location.
On the Customer Access Workgroups dialog box, in the Locations / Departments area, click Add New Location.
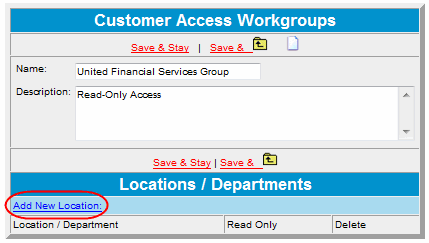
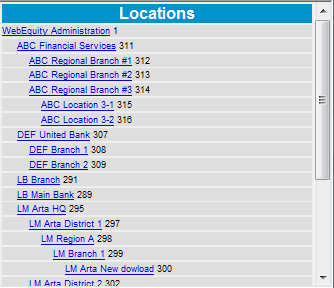
In the Locations dialog box, click the hyperlink for the location from the list.
If you want to assign read-only access to a location, select the Read Only check box.
Repeat steps 2 and 3 to add more locations to the workgroup.
Click Save &
 after you have finished adding locations.
Continue to the next step of this process -- Functionality Groups
Return to System Administration