Tax Forms
This topic describes the general entry and usage of Tax Forms functionality in Lending Cloud. You can enter data in the following tax forms: (Click on a form to see an example).
1040 includes the following schedules: 1040A,
1040B, 1040C, 1040D,
4797, 1040E(1), 1040E(2),
1040F, Other Income,
1040D-1 Supplement, 4797
Supplement, 1040E Supplement, 1065
K1 and 1120S K1.
1120 includes the following schedules: 1120D,
4797 and Other Deductions.
1120S includes the following schedules: 4797,
Other Deductions, 8825
and 1120S D.
1065 includes the following schedules: 1040F,
4797, Other Deductions,
8825, and 1065 D.
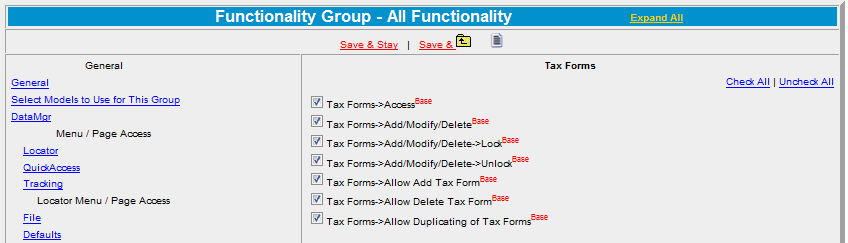
Tax Forms functionality is controlled by Functionality Group settings (Defaults > System Administration > Functionality Groups > Tax Forms Link. Select the check boxes next to the features you want to activate. Tax Forms functionality is available to all non-Fast Track customers.
Add and Map Tax Forms
When adding a tax form, if the primary chart of account is agricultural or commercial, all forms will be available (business and personal). If the primary chart of account is personal, only the 1040 forms will be available. For customers with pre-existing tax forms entered in Lending Cloud, if the tax form is from a year or package that is not listed in the Tax Year menu (see step 4), it will be read-only with no functionality supported in any other area of Lending Cloud.
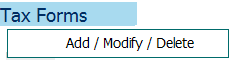
You can add tax forms for a new or existing customer from the Tax Forms menu.
From the Tax Form menu, select Add / Modify
/ Delete to add a new tax form.
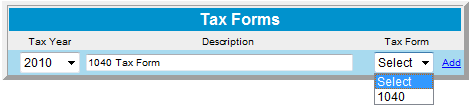
From the Tax Year menu, select the year for
the tax form. Tax forms are available for the previous four years and
updated as new forms become available.
In the Description field, type a title for
your entry.
From the Tax Form menu, select the type of form and click Add.
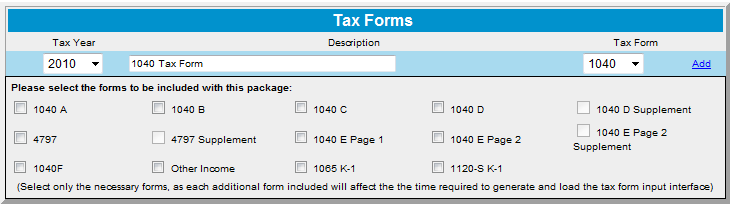
Select the forms to be included with this package
and click Add.
Select only the necessary
forms as each additional form included affects the time required to generate
and load the tax forms.)
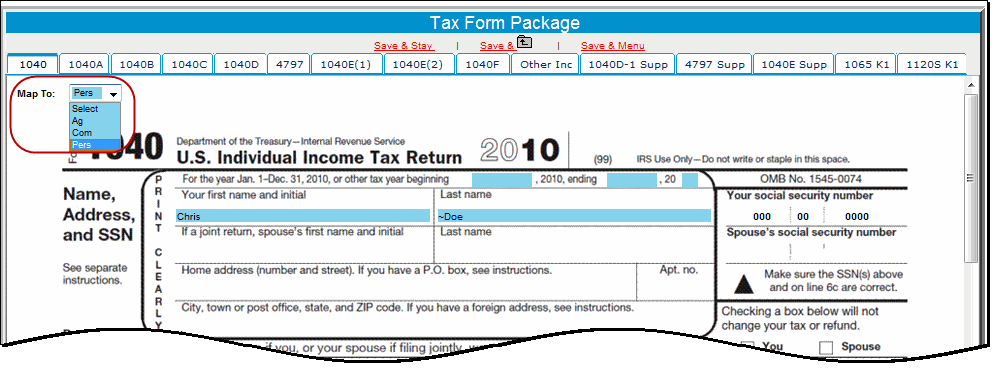
From the Map To menu, select the type of account (Agricultural, Personal, and Commercial). On Form 1040 and some related schedules, the Map To menu (see Tax Form Package figure) shows mapping options for Agricultural, Commercial. and Personal. On the 1065, 1120, 1120S tax forms and some related schedules, you can choose from Agricultural and Commercial. the following figure shows the Map to menu for Form 1040.
You now have a saved tax form that you can be open any time from the Tax Forms menu. Enter the applicable data in the selected tax form and continue in your workflow.
Import Tax Forms into Balance Sheets and Income Statements
As you enter tax form information, the data is saved for future importing into a Balance Sheet and/or Income Statement.
To import tax form information:
Select the Import Tax Form check box.
Select the desired tax form to pull data from
and click Add.
The information entered on the selected tax
form is pre-filled on the Balance Sheet and/or Income Statement chart
of accounts.

Select the tax form from the Tax Form menu
and click Refresh.

Read the message that appears: If you have
changed the Account Type on either the 1040D or the 4797 tabs, it may
be necessary to delete information from the original chart of account.
Verify on the Balance Sheet screen if any applicable
data has mapped. Form 1040 does not have mapping fields so you will not
see anything.
Click OK.
You can also refresh the Balance Sheet Trends screen, the Income/Expense Summary screen, and the Income/Expense Trends screen in the same manner.
Export Tax Forms from Lending Cloud
To export tax forms from Lending Cloud:
Click the File menu and click Export Selected
Data.
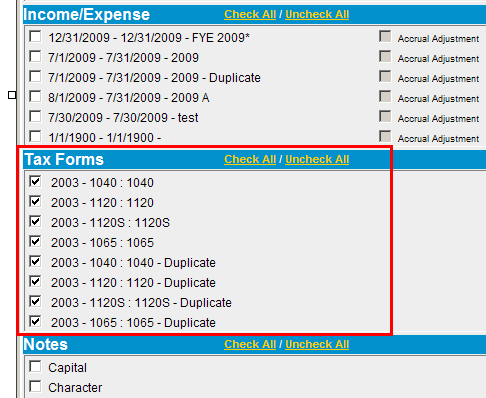
On the Select Data to Export screen, select
all the check boxes next to the tax forms you want to export and clear
all check boxes next to items that you do not want to export.
On the Select Data to Export screen, click
Export
Selected Data and the following information box appears.

Click Download.
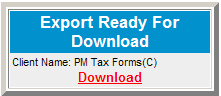
Your tax form (s) have been downloaded successfully
and you have the option to download them again.

Import Tax Forms into Lending Cloud
To export tax forms to Lending Cloud:
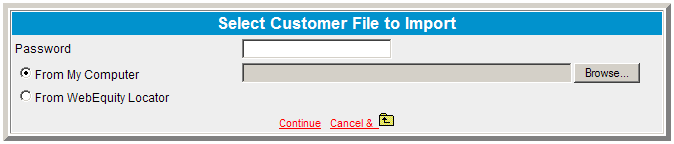
Click File menu and click Import Selected Data.
Select the location button of the customer
file that you want to import and click Continue.
On the Select Data to Import screen, select
the check boxes next to the tax forms that you want to import and clear
the check boxes next to items that you do not want to import.
On the
Select Data to Export screen, click
Import Select Data
and the following information box appears.

An Import Finished box confirms that the importing
process successfully finished.
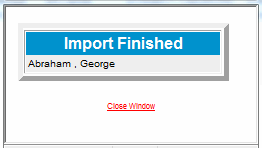
Chart of Accounts Tax Schedules
FICA and Medicare tax schedules are available for the Personal Chart of Account type.