Creating or Updating Customized Ratios
Select Defaults > Customize > Ratios > Setup Ratios.
On the Customized Ratios & Indicators screen, click either the Add Ratio button or the Edit button associated with an existing ratio. The Ratio Format screen appears.
Note The screen samples used in the following steps reflect what you see when you click Add Ratio. If you click the Edit button, the fields and screens described in the following steps would be populated with information associated with the existing ratio.
In the Title field, type a title for the ratio. You are limited to 50 characters.
The first twenty characters of the title you typed into the Title field automatically appear in the Short Title field. You can change the text for the Short Title; however, you are limited to 20 characters. The text that appears in this field is displayed on the Ratios and Indicators report.
In the Category drop-down list, click a Credit Action category where the ratio will be located.
The following table provides information about the optional fields on the Ratio Format screen.
Name |
Description |
|---|---|
Annualize |
Option determining whether the customized ratio is never, or always, calculated using annualized Income/Expense or if the Annualize setting on Lending Cloud Income/Expense screens is used to determine whether to annualize Income/Expense data. This field defaults to Use Income & Expense Settings. |
Balance Sheet |
Option determining
whether the beginning, or ending, balance sheet
|
Decimal Places |
Click a number in the drop-down list to determine the number of decimal places displayed in the ratio. |
Display Type |
Option determining the displayed format of the ratio |
Include on Ratios and Indicators Reports |
Check box determining if the ratio appears on the standard Ratios and Indicators report |
Use |
Check box determining if the ratio is available for use on client records |
Use Whole Numbers / Thousands / Millions |
Check box determining if the following display options for customized ratio calculations appear on Lending Cloud screens.
|
Click the Save & Next button. The Ratio Formula screen appears.
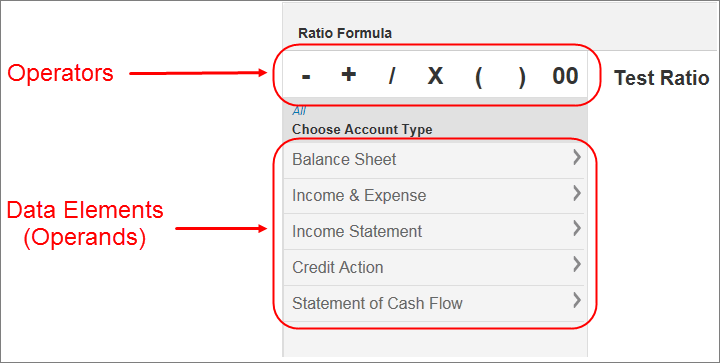
In the menu on the left side of the Ratio Formula screen, choose the data elements (also referred to as operands) and operators that will make up the formula of your ratio.
To add data elements
To add data elements, click
the appropriate account type and continue to click through the appropriate
categories until you reach the desired data elements. For example, to
add the
Cash & Equivalents commercial
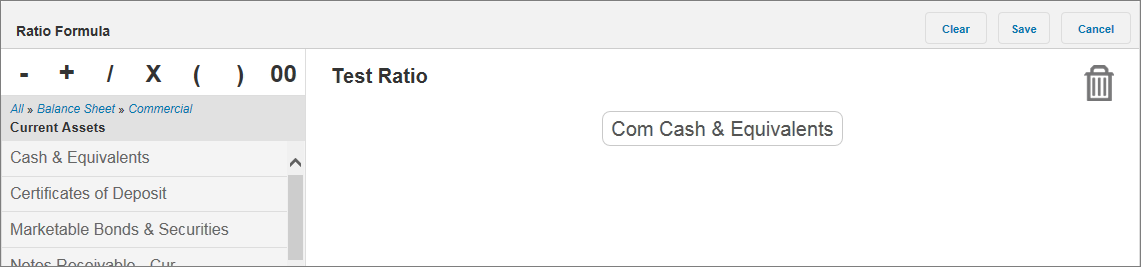
chart of account to your ratio formula, click the following categories.
Balance Sheet > Commercial > Current Assets
In the list that appears on the menu, click and drag Cash & Equivalents to the formula space to the right of the menu.
Note The screen samples used in the following steps reflect what you see when you click Add Ratio. If you click the Edit button, the fields and screens described in the following steps would be populated with information associated with the existing ratio.
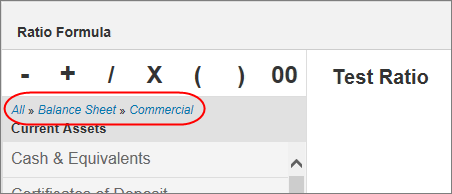
Clicking any data element in the menu automatically places it in the formula space after any previously placed item. A breadcrumb trail appears at the top of the list and can be used to navigate to previous categories.
To add operators
To add operators, click and drag them to the appropriate position within your formula. Clicking any operator in the menu automatically places it in the formula space after any previously placed item.
Note When the ![]() operator
is placed in the formula, you can type a number within it.
operator
is placed in the formula, you can type a number within it.
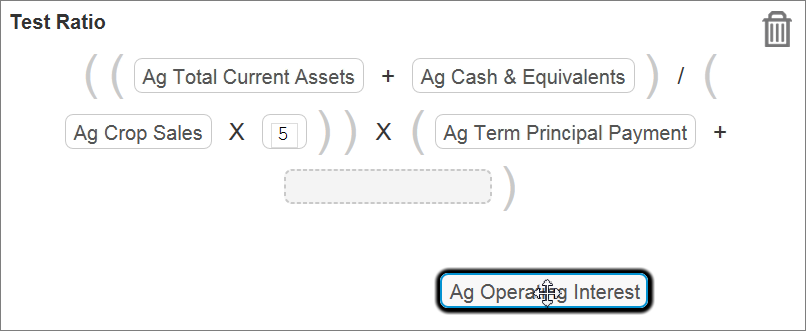
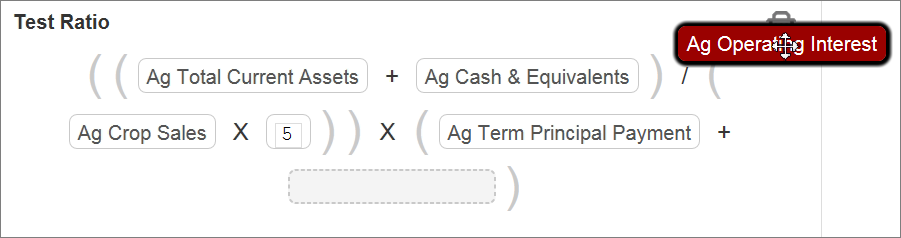
To rearrange data elements or operators
You can rearrange any data elements or operators in a formula by clicking and dragging them to a different position. When you drag the item to different locations on the screen, a blank box appears indicating where the item is placed when you release the mouse button.
To delete data elements or operators
To delete a data element
or operator, click and drag the item to the ![]() icon in the top right of the formula space. When the item is highlighted
in red, release the mouse button to delete the item.
icon in the top right of the formula space. When the item is highlighted
in red, release the mouse button to delete the item.
You can also click the Clear button to delete all of the data elements and operators appearing in the formula space.
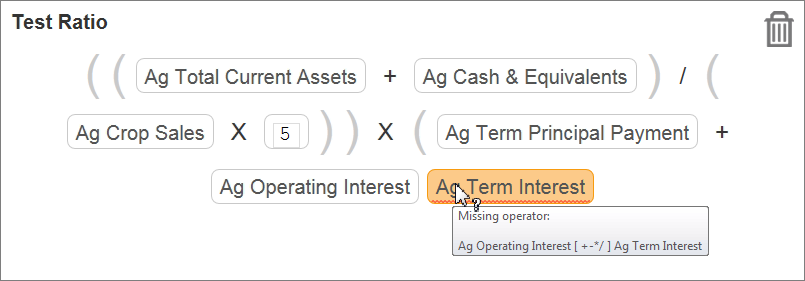
Identifying Ratio Calculation Errors
If a data element or operator is in a position within the formula that results in a calculation error, the item will be highlighted in orange. Hover the mouse pointer over the item in error to display text describing the error.
When the formula for your ratio is complete, click the Save button.
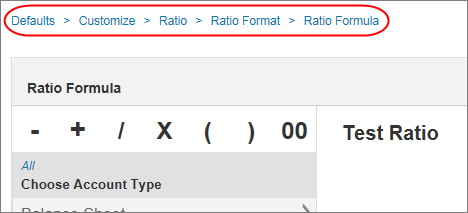
After clicking the Save button to save any changes, you can use the breadcrumb trail above the screen to return to a previous screen.