Uploading PDF Tax Forms
You can upload a customer's PDF tax forms using the Tax Form Reader in Lending Cloud. Tax forms and supporting schedules are automatically recognized and the appropriate tax form packages are created upon upload. Tax return uploading supports PDF's generated by tax return software from 2013 to present.
Note The upload process does not support scanned PDFs or image files.
Additional features and considerations:
You can upload Forms 1040, 1065, 1120, 1120S and supporting forms and schedules.
Each upload can contain multiple PDFs and each PDF tax form can be up to 65MB.
You will be prompted for passwords when uploading password-protected PDFs.
Uploaded PDFs are retained automatically in Lending Cloud for audit trail and review.
Supporting forms and schedules can be uploaded at any time to existing tax forms packages.
To upload PDF tax forms
1. From the Lending Cloud menu, select Tax Forms. The Tax Forms page appears.
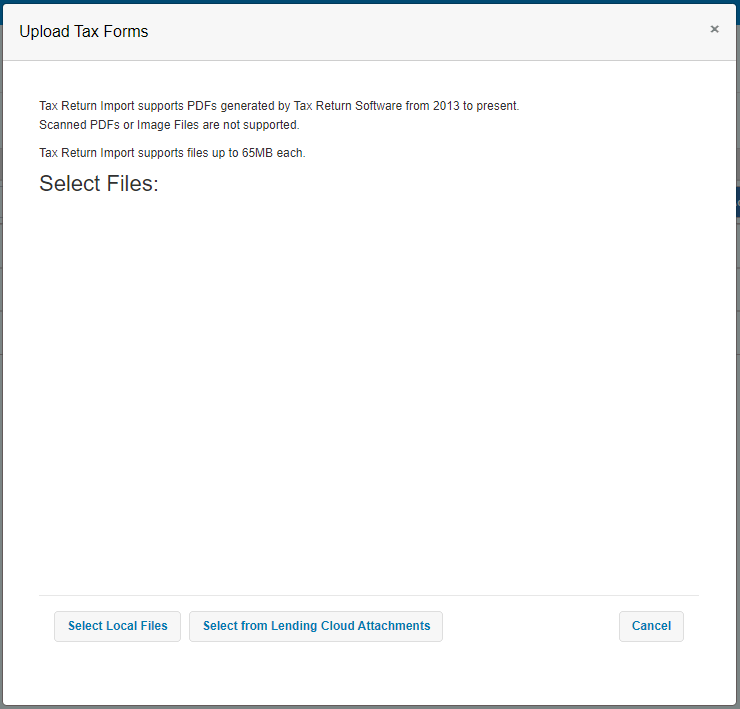
2. On the Tax Forms page, click the Upload Forms button. The Upload Tax Forms window opens.

3. Use one of the following options at the bottom of the Upload Tax Forms window to locate and select tax form PDFs for uploading. You can use PDFs selected from both options in the same upload.
· Select Local Files - Click this button to browse for PDFs in your local system. Locate and select the appropriate PDFs. You can select multiple PDFs to be uploaded simultaneously. The PDFs that you selected appear in the Select Files section of the Upload Tax Forms window.
· Select from Lending Cloud Attachments - Click this button to browse for PDFs that have been attached to Lending Cloud using DMS (Attachments) functionality. In the DMS (Attachments) window, locate the appropriate PDFs and select the check boxes to the left of the files in the main view pane. After selecting PDFs, click Upload in the upper left corner of the window. The DMS (Attachments) window closes and the PDFs that you selected appear in the Select Files section of the Upload Tax Forms window.
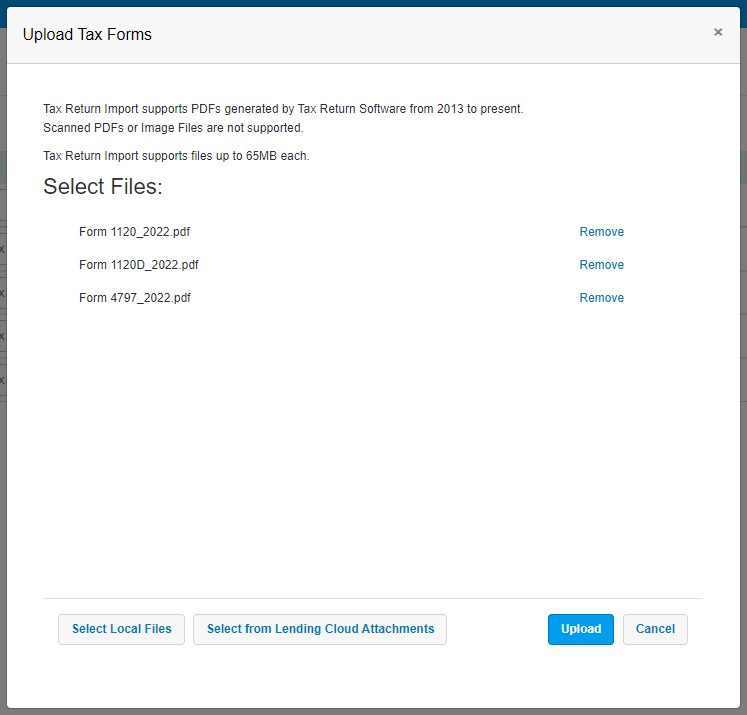
Following is an example of the Upload Tax Forms window with three PDFs selected for uploading.
Note If you need to delete a tax form before uploading, click Remove on the line of the applicable PDF.

4. Click the Upload button. The name of the Select Files section changes to Uploading Files and upload processing begins. Progress, results, and summary information appear.
Note If you are
using a Microsoft®
Internet Explorer®
web browser when uploading tax form PDFs, the processing spinner remains
static during the upload process. If you are using a Google Chrome™ or
Microsoft®
Edge Chromium web browser when uploading tax form PDFs, the processing
spinner rotates. Regardless of browser, after a PDF is uploaded successfully,
the  icon appears to the left of the file name. If a file contains an unsupported
form or form year, the
  icon appears to the left of
the file name and the system will discard the file. If a file is password
protected, the
  icon appears to the left of the file
name. To continue processing, enter the password for each protected file.
5. Click the Submit button. The name of the Uploading Files section changes to Confirm Upload.
6. To
complete the uploading of PDFs with the  icon to the left of the file name, click the Confirm
button.
Note If you are uploading a supporting form or schedule, the system prompts you to assign the supporting document to an existing parent tax form package. In this case, select the appropriate package from the Assign To drop-down list in the Upload Tax Forms window for each supporting form or schedule you are uploading. Then, click the Confirm button. If you are prompted to assign files to a parent tax form package, click the Upload Parent button, which returns you to the Select Files section. After selecting the appropriate parent tax form file, click the Upload button. Then, complete the submission and confirmation steps.
When PDF tax forms from your local system are uploaded, the Adobe PDF file icon appears. Click the icon to view the original PDF for verification purposes. Uploaded tax form data can be reviewed and modified before refreshing to balance sheets and income/expense spreads in the same way as manually-entered tax forms.
Uploaded forms are added as a package on the Tax Forms page, as shown in the following example.

For information about actions that you can take on established tax form packages, see Managing Existing Tax Form Packages.