Menu Configuration and Details
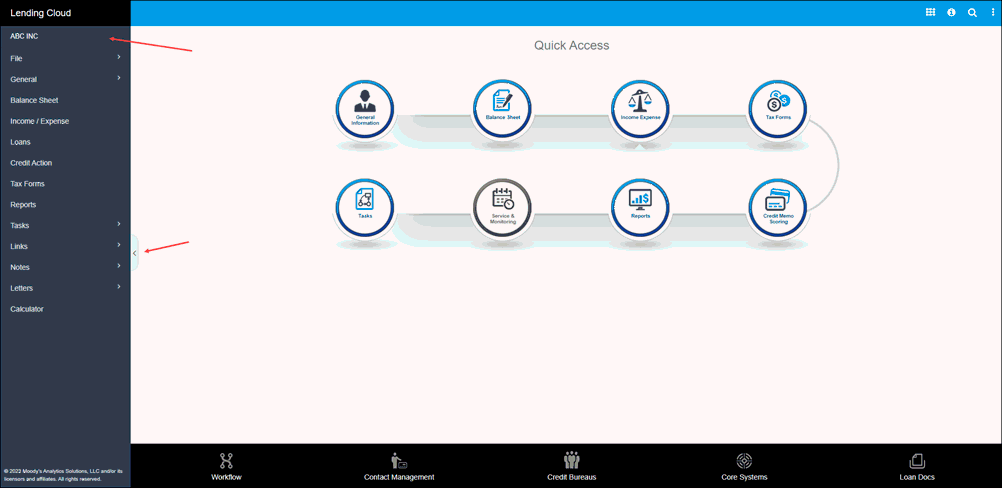
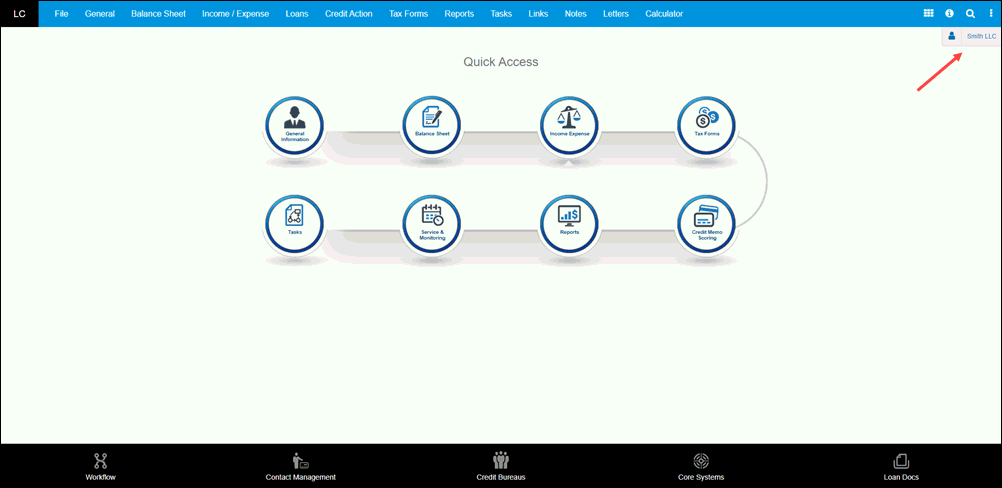
You can position the Lending Cloud menu vertically, on the left side of the screen, or horizontally, at the top of the screen.
To display the Left menu
1. From the Lending Cloud menu, select File > User Settings > User Settings. The User Settings screen appears.
2. For Menu Location, select the Left button.
3. Click the Save & Stay button. The system places the menu on the left side of the screen. When you open a customer record, the customer name is displayed at the top of the menu. Clicking the button to the right of the menu enables you to hide the menu to expand your working space. Click the button again to show the menu.

To display the Top menu
1. From the Lending Cloud menu, select File > User Settings > User Settings. The User Settings screen appears.
2. For Menu Location, select the Top button. The system enables the Display Customer Name check box.
3. Select the Display Customer Name check box.
4. Click the Save & Stay button. The system places the menu at the top of the screen. When you open a customer record, the customer name is displayed just below the menu at the right edge of the screen.

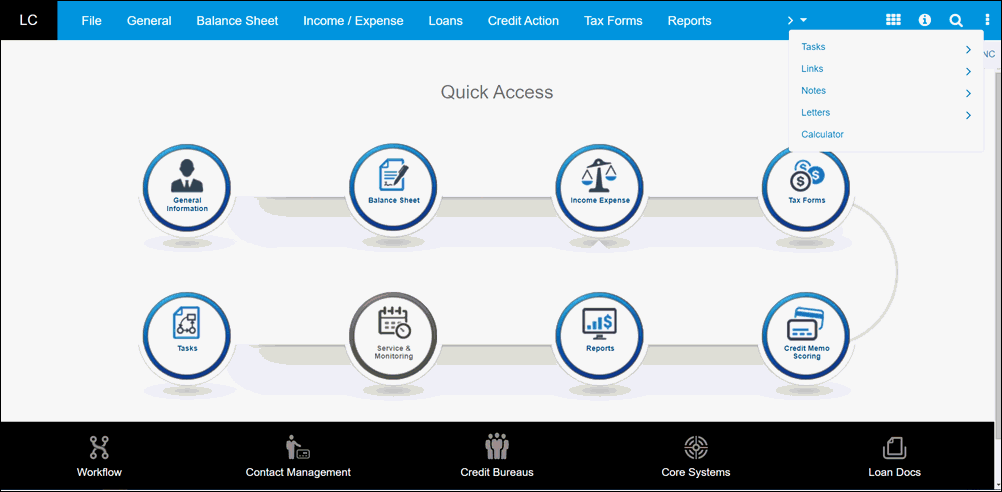
If you enlarge your browser text, the top menu truncates and a right-pointing arrow and drop-down icon replaces any hidden menu options. Click either icon to display the hidden options.

For both types of menus, the following icons appear in the upper-right corner of the screen.
Icon |
Function |
|---|---|
|
Click to Open the Quick Access screen. |
|
Click to open the Lending Cloud eHelp. |
|
Click to open the Locator screen. |
|
Click to display the following: • Name of the user based dependent on functionality settings • The link to Lending Cloud’s copyright statement • The link used to log out of the application • The version number of the application |